
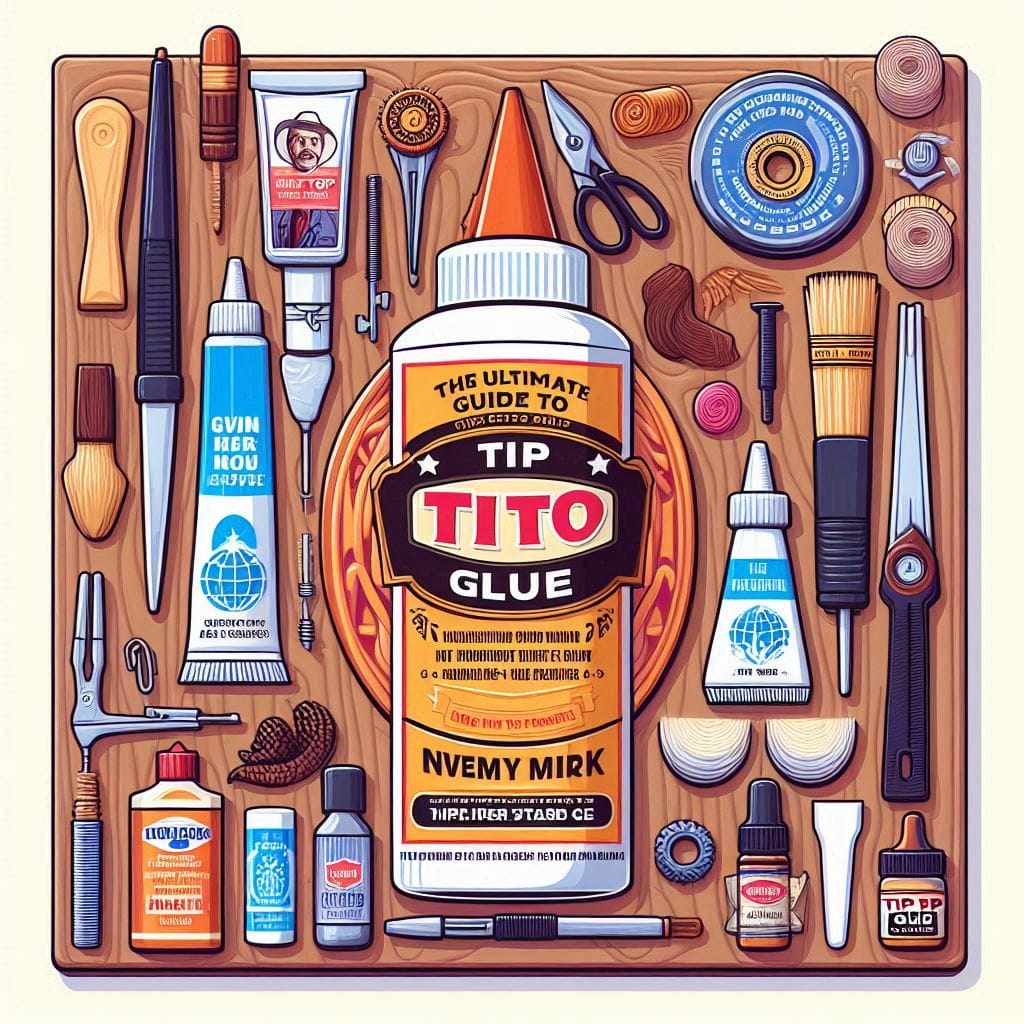
The Ultimate Guide to Tip Top Glue: Everything You Need to Know for Crafting, Repairs, and More in the 2025
Tip Top Glue is a brilliant adhesive that has turn out to be a fave for DIYers, crafters, and repair fanatics. Its ability to bond loads of substances with precision and power makes it a have to-have for initiatives massive and small. In this unique, search engine optimization-optimized article, we’ll explore what makes Tip Top Glue unique, a way to use it efficaciously, and approaches to spark your creativity—all in over 1000 words. Packed with sensible advice, professional insights, and a handy table, this manual is adapted for each rookies and seasoned customers, encouraging you to dive into your next project with confidence.
Table of Contents
- Understanding Tip Top Glue
- What Sets Tip Top Glue Apart
- Where to Use Tip Top Glue
- How to Apply Tip Top Glue Like a Pro
- Top Tips for Success
- Table: Tip Top Glue Projects and Techniques
- Fun and Creative Ideas to Try
- Handling and Storing Tip Top Glue
- Expert Perspectives
- FAQs About Tip Top Glue
- Final Thoughts: Unleash Your Creativity

1. Understanding Tip Top Glue
Tip Top Glue is a wonderful adhesive designed to stick materials like timber, paper, fabric, metal, and plastic collectively securely. It’s loved for its brief-drying nature and ability to create lasting bonds, whether or not you’re crafting a sensitive decoration or fixing a strong shelf. The glue comes with a high-quality-tip applicator, best for unique work, and its components ensures a keep that can take care of put on and tear. From home maintenance to creative creations, Tip Top Glue is a versatile tool that adapts to infinite responsibilities, making it a staple in workshops and homes alike.
2. What Sets Tip Top Glue Apart
Why pick Tip Top Glue over other adhesives? Here’s what makes it stand out:
- Reliable Strength: It bureaucracy a hard bond that continues substances together under stress.
Speedy Drying: Sets speedy, so you don’t must pause your challenge for lengthy. - Wide Compatibility: Works on everything from gentle fabrics to hard metals.
- Accurate Application: The slim tip helps you to vicinity glue exactly wherein you want it.
- Long-Lasting Results: Resists water and warmth as soon as completely set, ideal for durable initiatives.
- Easy to Use: Simple sufficient for novices, yet unique sufficient for experts.
“The fine-tip applicator on Tip Top Glue makes it my move-to for tasks that demand accuracy.
It’s like having a steady hand built into the bottle.”
– Emma Larson, Artisan Crafter
3. Where to Use Tip Top Glue
Tip Top Glue shines in a variety of scenarios.
Here are some famous ways to position it to work:
Craft Projects: Great for gluing paper, foam, or beads in scrapbooks or decorations.
- Household Fixes: Mends broken dishes, wooden frames, or loose fittings with ease.
- Jewelry Creations: Secures tiny gems or clasps for handmade accessories.
- Sewing Alternatives: Attaches fabric patches or hems without a needle and thread.
- Model Making: Holds together small parts in model cars, planes, or figurines.
4. How to Apply Tip Top Glue Like a Pro
Getting the best results with Tip Top Glue is straightforward if you follow these steps:
- Prepare Your Area:
- Work in a space with good airflow to stay comfortable.
- Cover your work surface with paper or a cloth to keep it clean.
- Get Surfaces Ready:
- Wipe down materials to remove dirt, oil, or dust.
- For glossy surfaces like plastic, rough them up slightly with sandpaper for better sticking.
- Add the Glue:
- Lightly press the bottle to release a small drop of glue.
- Use the fine tip to spread a thin, even layer on one surface.

- Connect the Pieces:
- Push the surfaces together and hold for about 15 seconds.
- For larger items, secure with tape or a clamp until set.
- Let It Set and Tidy Up:
- Give it a full day to harden completely for the strongest bond.
- Clean the bottle’s tip with a wet cloth to keep it clear.
5. Top Tips for Success
Make the most of Tip Top Glue with these handy pointers:
- Use Just Enough: A small dab is often all you need—too much can make things messy.
- Practice First: If you’re gluing something new, try it on a spare piece to get the feel.
- Move Fast: The glue dries quickly, so align your pieces right away.
- Keep It Light for Thin Materials: On paper or cloth, go easy to avoid soaking through.
- Store Smart: Seal the bottle tightly and keep it in a cool spot to preserve it.
- Clean Up Mistakes: Dab away wet glue with a damp rag before it hardens.
“Tip Top Glue rewards careful application. Take your time to apply it right, and you’ll get a bond that holds up for years.”
– Tom Weaver, Home Repair Specialist
6. Table: Tip Top Glue Projects and Techniques
| Project Type | Materials | Application Method | Set Time | Key Tip |
|---|---|---|---|---|
| Paper Crafts | Paper, cardboard | Dab lightly, press gently | 10 seconds | Use sparingly to prevent rippling |
| Home Repairs | Wood, pottery | Apply evenly, hold firmly | 24 hours | Clamp heavy pieces for best results |
| Jewelry Design | Gems, metal clasps | Use tiny drops for precision | 1 hour | Remove excess glue quickly |
| Fabric Bonding | Cotton, synthetic fabrics | Spread thinly, press for 20 seconds | 20 minutes | Check fabric compatibility first |
| Model Building | Plastic, lightweight wood | Apply in stages, align carefully | 24 hours | Work in a well-aired space |
This table breaks down how to approach different projects, helping you plan for success.
7. Fun and Creative Ideas to Try
Here are some exciting ways to use Tip Top Glue:
- Decorated Jars: Glue colorful stones or twine around glass jars for stylish storage.
- Custom Magnets: Attach small figures or tiles to magnet backs for fun fridge decor.
- Revamped Furniture: Add decorative trim to old chairs or tables for a fresh look.
- Fabric Wall Art: Create patterns by gluing fabric scraps onto a canvas.
- Miniature Scenes: Build tiny villages or displays by securing small props together.

8. Handling and Storing Tip Top Glue
Stay safe and keep your glue in top shape with these guidelines:
- Airflow: Use it in an open area to avoid breathing in vapors.
- Avoid Skin Contact: Wash off any glue for your pores and skin with soap and water proper away.
- Proper Storage: Keep the bottle in a dry, cool location to preserve its exceptional.
- Tip Care: Wipe the applicator after each use to save you blockages.
- Keep Away from Kids: Store securely, or opt for kid-safe versions for family projects.
9. Expert Perspectives
Another voice on why Tip Top Glue excels:
“Tip Top Glue is a perfect blend of strength and simplicity. It’s reliable for both quick fixes and detailed designs.”
– Sophie Grant, Craft Workshop Leader
These expert views highlight why this glue is trusted across skill levels.
10. FAQs About Tip Top Glue
Q: Can Tip Top Glue handle outdoor projects?
A: Yes, it’s water-resistant once fully set, making it great for garden decor or patio fixes.
Q: Does it work on all plastics?
A: Most plastics bond well, but test on a small spot first, as some types may need extra prep.
Q: How do I fix a glue mistake?
A: Wipe off wet glue with a damp cloth. For hardened glue, carefully use nail polish remover.
Q: Is it okay for kids’ crafts?
A: Look for non-toxic versions and always supervise children during use.
Q: How long can I store Tip Top Glue?
A: It stays usable for about two years if kept sealed in a cool, dry spot.
11. Final Thoughts: Unleash Your Creativity
Tip Top Glue is greater than just glue—it’s a gateway to infinite opportunities. Whether you’re patching up a favorite object, crafting a present, or constructing some thing from scratch, its strength and simplicity of use make each mission better. Use the guidelines and thoughts here to start small, gain confidence, and then tackle bigger demanding situations. Pick up a bottle, try a project from this guide, and share your results with friends or online communities. With Tip Top Glue, you’re ready to create something amazing—get going today!


1 thought on “The Ultimate Guide to Tip Top Glue: Everything You Need to Know for Crafting, Repairs, and More in the 2025”